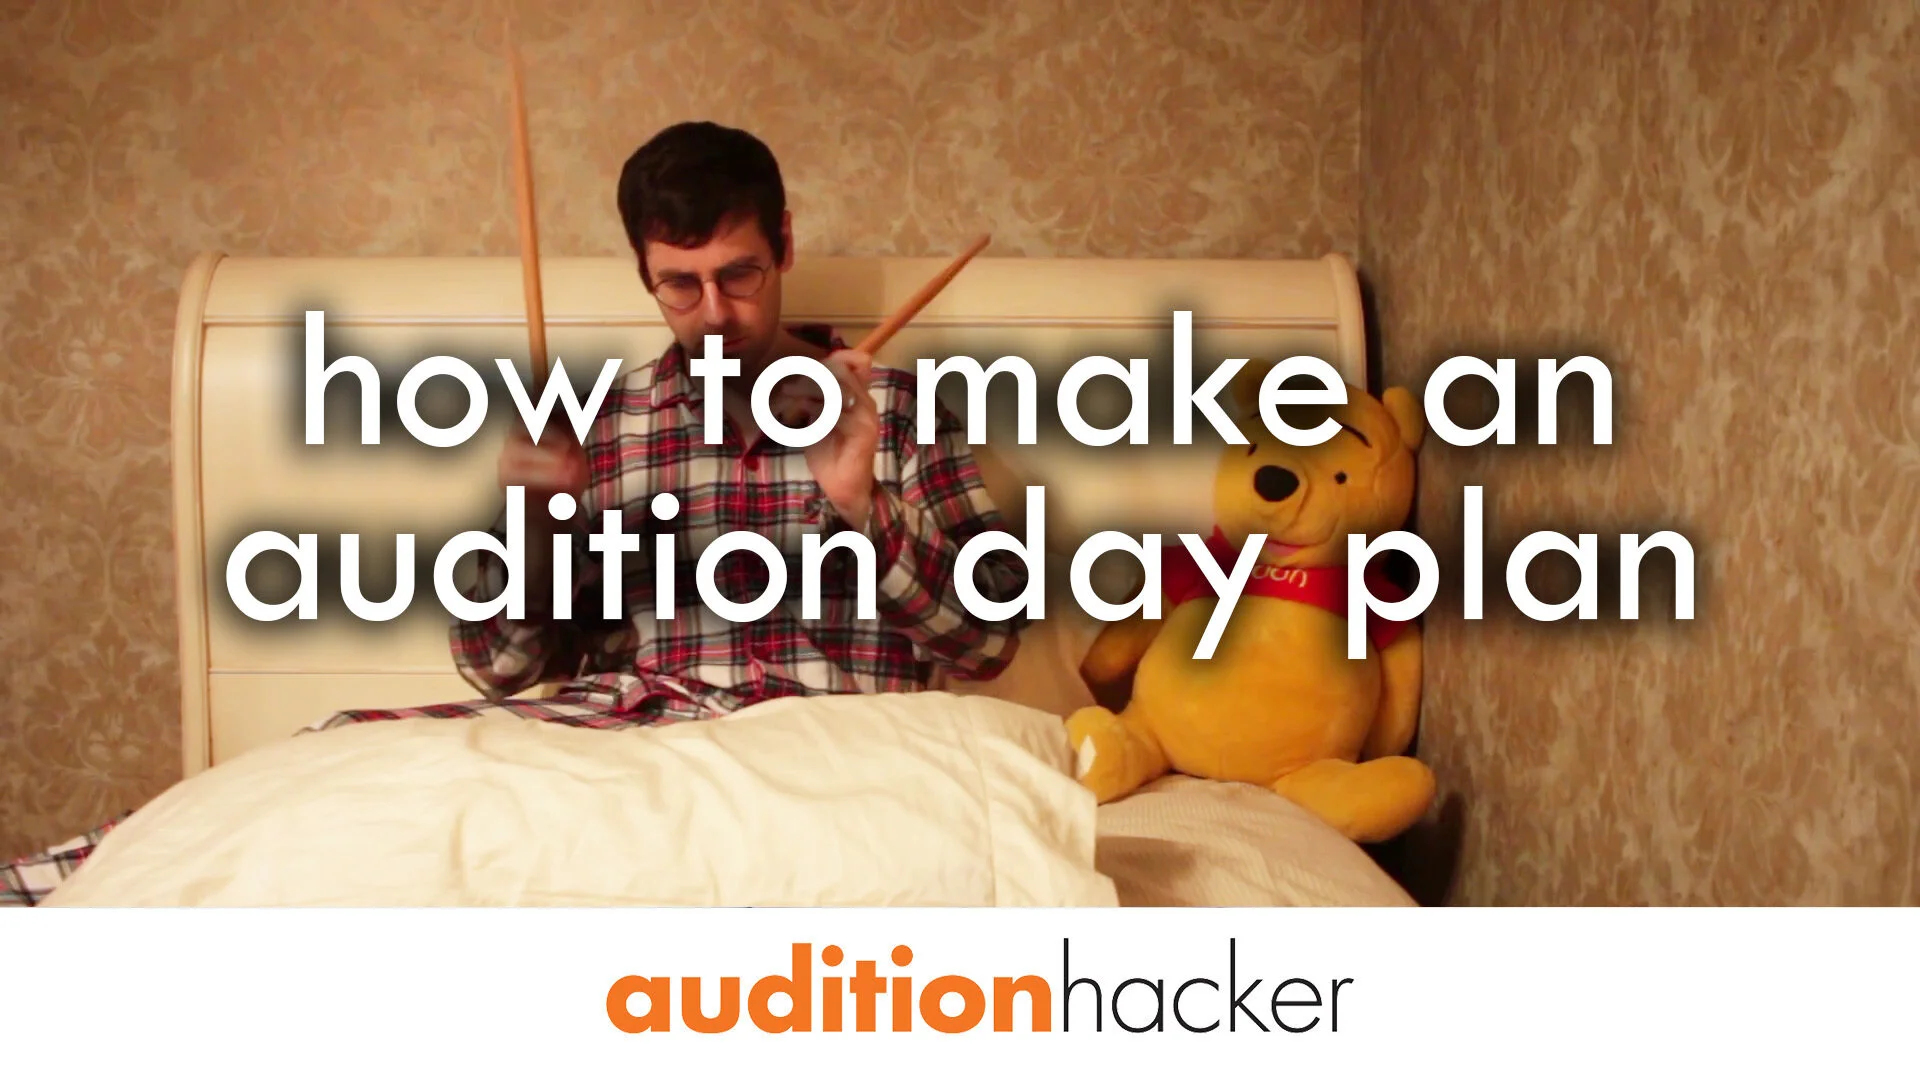
it's day 4 of the 12 days of auditions! it's the video series where each day i cover a different topic on how to take auditions. yesterday was day 3: how to plan your audition preparation. make sure to join the auditionhacker facebook group to see the rest of them.
(note: thanks for watching the video! i've added some useful information, charts, and explanations below. the parts that are bold are from the video. everything else is new.)
even though when orchestras have auditions, they’re looking for the best performer, sometimes part of the process is they ask you for an audition tape. that turns you from a performing artist to a recording artist, which means that you’re not only responsible now for the sound coming out of your instrument, you’re also responsible for the entire experience of the judge when they’re listening to your tape.
it’s the same effect as a good resume. if a well-formatted, visually appealing resume tells the judge that the musician is a well-prepared, musically appealing performer, it’s the same with a tape. you might sound like a greek god on the violin, but if there’s static, or if the video doesn’t line up with the audio on your tape, or if it sounds like you recorded in a tiny practice room, the judge is going to make a corresponding opinion about your playing. and by the way - all of those skills needed to make your audition tape sound great are artistic. there’s an art to placing your mic, choosing the right room for reverb, and the self-recording workflow. so approach these steps with the same care and creativity that you would with something musical.
step 1: are you using a recording engineer or flying solo?
the big question is this: are you using a recording engineer, or are you flying solo?
if you use a recording engineer, you’re probably going to get a more professional sound. that doesn’t mean you’ll have a better end product though. but some things will be easier along the way. the recording engineer knows how all the stuff works so that you don’t have to worry about it. it’s going to cost you some money, but more importantly it’s going to put pressure on you to finish the session in the allotted time.
if you do it on your own, you’ll have to learn a few more skills, but you’re going to get all the time you need over days and days to get the best possible takes of your excerpts. so really it’s up to you.
recording engineer vs. DIY (do-it-yourself):
DIY
cheaper
no pressure to finish in the allotted time
you can experiment with lots of different variables
recording engineer
more professional sound
less technical worry
only have to focus on playing
want a head start on the basics of audition preparation?
enroll in the 3-part online mini-course, how to advance at an orchestra audition 101. it will be delivered straight to your email starting on november 10th.
step 2: prepare like an audition
this guy is really nailing it.
whether you choose to use a recording engineer or do it yourself, beforehand you’re going to want to prepare your excerpts as though you’re taking an audition. they should be totally performance-ready. or as my friends used to say, they should be nailguns.
do your note-learning and learn the notes of your excerpts first in whatever way that you learn notes. and as well as you would for an audition. secondly, do self-recording. go through each excerpt on your own and work through any of the problems that you hear to make your excerpts sound as great as you can possibly imagine them being.
step 3: do a 'mock recording'
one way to test your readiness is to schedule a mock recording session, where you do a fake recording of the complete audition tape. you’re actually going to record for real, but you’re just checking how many repetitions it takes for you to get a perfect run through, and root out any problems that remain with your pieces. this is going to cut down your actual recording time a ton.
here's what i mean. schedule a 3- or 4-hour session, about a week or two before your recording session is supposed to happen. go in there and make an actual audition tape, or as best as you can do, of all your solos and excerpts. you don't have to use fancy recording equipment - just use your computer or iPhone for now. this is where you learn how long it takes for you to bring excerpts from start to finish. how many takes do you do before you achieve a perfect one? what excerpts need more work, and in what area?
after that, if you’re using a recording engineer, you’re ready to go to your session and you can skip to step 7.
step 4: choose your equipment
this is what the new york philharmonic lays out as the audition tape rules. there's microphone recommendations, along with setup and other guidelines.
if you’re not, now it’s time to choose your equipment. you need a microphone, a recording device, and maybe even a video camera.
it’s easy to start nerding out about what kind of equipment you need. you can go down the google rabbit hole here. but you should be able to get a very good recording with relatively cheap equipment. remember - it’s more important to play well, have a nice sounding room, and place the mic well than it is to actually have expensive equipment.
buying guide: how to choose a microphone from musician's friend
day 7: every piece of gear you'll need for self-recording - from my previous #12days event - the 12 days of delécluse!
step 5: room
you have to use a good room if at all possible. whatever room you use should have good reverb. think of the room as an extension of your instrument - it’s just as much your job to find a nice room to play in as it is to play in tune and with good rhythm. so no practice rooms.
step 6: setup
and then you can set everything up and get ready to record. you have to figure out where to put everything in physical space - how far away from my instrument should the mic be? how high off the ground? and set the mic input so it doesn’t distort. make sure you do some testing and listening back before you start actually recording. and you can use something simple like Garageband or Amadeus Pro.
for each of those things, you have to experiment separately in an isolated way with each of those things. for instance, you can’t experiment with two things at once. if you change both the placement and the height of the mic, you’re not learning what the variables of each of those are doing to the sound. you don’t know what part of the difference was caused by each of those variables.
so if you move it in the room, change one thing. change how far away the mic is, for instance, and see how it sounds different. or change how high the mic is, and see how that sounds different. and ideally, depending on the instrument, you’re going to want to have two mics, and they should be facing each other in sort of at 90-degrees so that their sound waves don’t overlap.
you can find all this out online. just google it. this is simple stuff. you can figure it out. if you have a spare hour and a half one day, you can figure all this stuff out and come up with a plan of attack. and you can even sit with your computer with a mic while you’re working on it to google that stuff and learn it as you go.
the 5 methods of stereo recording from ehomerecordingstudio.com
how to record brass and woodwinds at home from bhphotovideo.com
step 7: record
now you’re ready to record. give every excerpt as many repetitions as it takes until they’re absolute gems. don’t let a single issue through, even if it’s minor. and make sure to save early and often.
here's the workflow. do as many takes as you need to to get the best possible version. once you get the best possible version, then do at least one more take, or preferably at least two more takes so that you’ll at least have two or three useable takes. that way, you have some material to work with, cut between, or at least choose your best take from.
if you're recording and you play your best take yet, that doesn’t mean you've played your best take of the day, it just means you’ve played your best take so far. give yourself a chance to get even better. your first couple takes are almost never going to be good enough to turn in. and while you're recording, make sure to listen back and confirm that nothing’s wrong with how you sound and that it sounds like you want.
day 8: the self-recording step-by-step method - rob knopper
step 8: edit
think of editing like this. you start with a bunch of random audio files, and it has to end up an experience. the judge should be able to press play and listen through without any weirdness, and without having to adjust the volume knob once. you’ll have to cut the excerpts down to size, add silence, adjust levels, and then do whatever other editing you want.
if you're USING a recording engineer:
what’s going to happen is the recording engineer is going to create a playlist or a dropbox file with all of the takes in it, send it to you, then you should go through carefully and either decide on which take you want, or which takes you’re going to use and you’re going to cut between them. and you send back a very detailed list of exactly what you want them to use, and then they do their magic, and create the playlist for you, and then all you have to do is send it in. wasn’t that painless? cool.
if you're NOT using a recording engineer:
you'll need to do these things -
cut them down to size
cut out the room noise and replace it with silence, if possible
[if you're doing any further editing, this is where you could replace or alter notes, pitches, rhythms, or do cuts from one take to another. i expect your firestorm of angry comments to go below in the comment section!]
and then you'll do a very basic version of what audio engineers call mastering. you're going to listen through to your pieces from beginning to end and make sure that they don't sound widely different.
for instance, if you recorded two excerpts with different mic placements, or at different input levels, then they’re going to sound different. so you either need to raise one or lower the other so someone can listen through to your audition tape without the drastic differences in volume of sound. you don’t want them to have to adjust the knob.
if you want to know how to do this stuff, just GOOGLE IT. i'm telling ya.
step 9: send
now it’s time to convert them to a new file format and upload them to wherever they’re going. maybe for your audition it has to be a youtube video or you have to burn it to a CD or maybe you have to save it as a zip file and then upload it. make sure to listen through to the entire thing one last time, and then send it off. then you’re done - that’s it.
BOOM! see you guys tomorrow with how to deal with the unorganized mess of tasks that make up audition preparation.


in 2019, a cellist named maria reached out to me about her audition struggles. on paper, she was the “worst audition candidate ever” (her words). she had 2 small children, a full-time teaching job, and hadn’t taken an audition in 4 years.