welcome to day 7 of the #12daysofdelécluse. i’m posting day 2 (of 3) of the complete guide to self-recording. see day one of the complete guide to self-recording here.
here is every piece of gear you'll need.
(just roll your mouse over the picture.)
each arrow in this interactive graphic represents a piece of gear. click any arrow for more information.

yesterday was the first installment in the complete guide to self-recording, a process that i found essential to preparing to record the album and also audition preparation. while yesterday was about the basic concept of why and how to record yourself, today is about gear.
i’ve broken down the above picture and linked to each of the important items that are my suggestions for what to get. below, i explain what the criteria for choosing the various items is, and how i came to that conclusion for each item.
the all-important criteria for choosing gear:
there are two main reasons to justify any decision when it comes to gear or setup. those are efficiency and accuracy.
efficiency
we need to be efficient because any lag or extra time that we allow in the workflow will be there instead of productive work. this is a repetitive process, which means that if you have to walk 15 steps to and from your microphone each time you’re going to listen to it, or even if you have to put on and take off your headphones each time, that can add up to hours and hours of wasted time. this is not only time that could have been used to practice more, but it also could have been used to end your practice session earlier, allowing you to experience more leisure time at the end of every session. wasting time during each repetition can result in the boredom of monotony, rather than interesting musical brain engagement.
accuracy
we need to be accurate in order to make the best adjustments to our playing. the quality of the audio needs to closely match what the human ear hears. the location of the microphone needs to be accurate to where the panel is sitting. if you’re going to make effective changes to your playing, you’ll need to have the perfect representation of the actual audio product that you are creating, instead of a digitally fuzzy or inaccurate version.
let’s talk about the full setup and where everything needs to be.
the setup: an overview
to discuss the full setup, let’s start with your drum and follow the path of the sound.
you and your instrument are stationary - you should never have to move away from it.
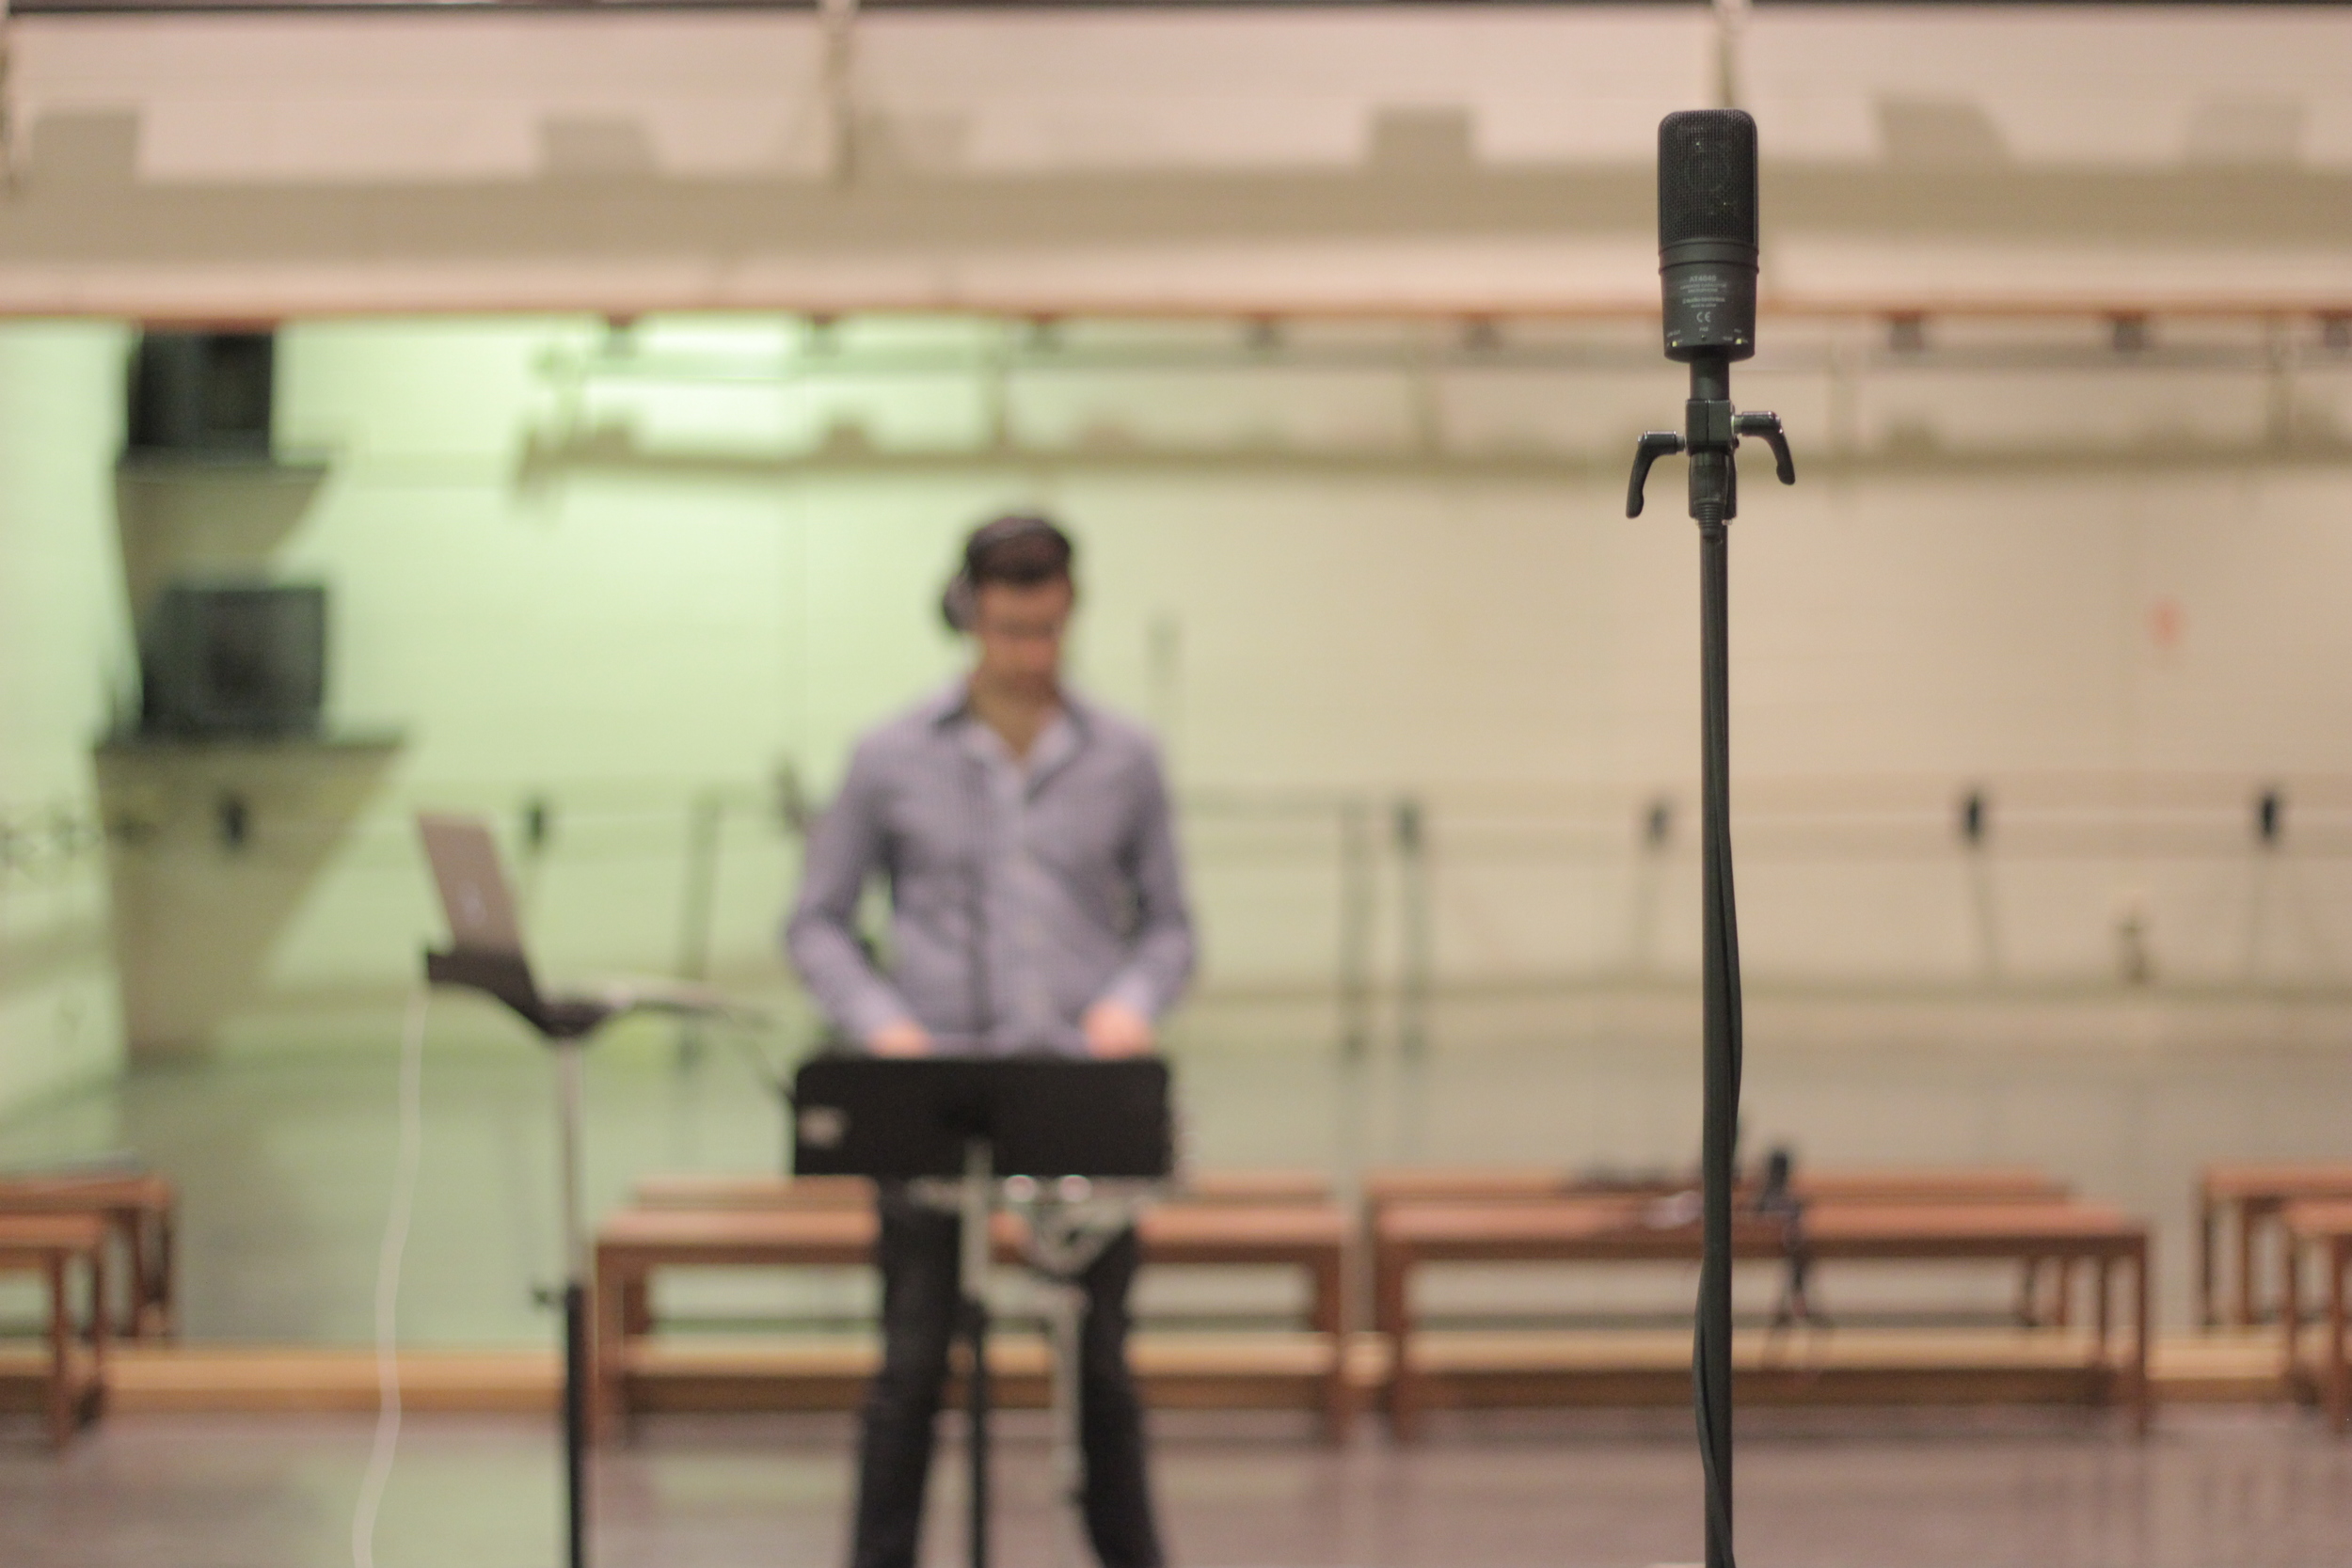
the audio comes out of your instrument, and goes into the microphone. the mike is located roughly 20-30 feet away from you, or however far away you expect your audience to be.
the audio goes into the microphone, through the cable, and into your recording device. this device is the one that actually saves the audio file. this can be a computer, an ipad, or some sort of other recording device, and it should include an immediate visual representation of the sound file. since you have to directly interact with your recording device, it needs to be located with you and your instrument so that you don’t have to move.
after the sound gets recorded onto your computer or other recording device, it needs to go into your headphones, which are on you the whole time.
the final thing you need is your note taking materials. these need to be close at hand so you can continually write, review, and cross things off. i’ve historically used 3x5 cards, but i’ve recently started using the mac app evernote for this.
locations, explained
so, to recap, there are two stations. one is where you are, and the other is the microphone. everything that you need to physically connect with, including your instrument, your computer or recording device, your headphones and your note taking materials are where you are. this also includes your coffee, your water, your cell phone, and anything else that could distract you into leaving your post.
this setup will increase the number of repetitions through the recording workflow you can do, which should, in turn, allow you to make the highest number of quality improvements to your playing.
concerning the mic
there’s two important things to say about your mic. they’re both for the purpose of making the most accurate representation of your sound that you can.
the first is this: set up your microphone 20’-30’ away from you to replicate the distance that an audition panel will experience.
it’s a more reliable audio measurement than your ears. when you practice and use just your ears, you’re getting an artificial representation of what an audience or audition panel hears. no listener will ever be as close as you are. instead of using the close-up microphone that is your ears, use a more reliable measurement of the audio product by placing the mic where the audience or audition panel would sit.
the actual difference in audio is striking. sitting farther away from the instrument and the musician blends the direct sound of the instrument with the room reverb. this can sometimes blur the tiniest details. you should be working on changing the way you play based on how it’s going to sound to the audience, not how it sounds to yourself. when you hear teachers say to exaggerate the musical phrase - this is what they mean. i tell students a lot to give me more contrast - raise the accented notes and lower the unaccented notes, or make a bigger rubato to stand out from the tempo. minuscule versions of musical gestures don’t project well, and this is your way to test it.
the second thing is this: use as high quality a mic as you can.
the clearer your mic, the closer it is to what a human hears. use a mic with a frequency pattern that doesn’t color the sound at all. mics are all created differently. some are made for bass drums, and pick up low frequencies very well. some are made for brass instruments and match those frequencies. you’re not trying to record this for an album: you’re trying to record it to measure and review the realest version of the sound that you can. you want to use the most unbiased mic that you can find, meaning one with the flattest frequency spectrum. if you use the wrong mic, you could start hearing more bass or inexact levels of other specific frequencies than your instrument is actually producing. when you iterate this process and manipulate your playing through repeatedly listening to yourself through the mic, you might start to make adjustments based on inaccurate audio recordings of your playing.
the type of mic and its location are important for an accurate reading of your performance. but the type of recorder you use, and how easy it is to play it back is a matter of efficiency. let’s talk about the use of a device with visual playback.
and the right recording device is...
well, the standard in devices for recording yourself is currently a zoom or edirol. those are great for specific types of recording, like when you need to covertly record yourself in an audition or lesson. they are, however, difficult to maneuver. if you want use these to record yourself, you have to either import the file into your computer, or use the display to manually fast forward through all the empty space. make your recording workflow as efficient as it can possibly be. you’ll get less bored, and you’ll get more done.
visual representation of delécluse: étude 4 in amadeus pro
use your computer or tablet and find a fast, simple app with a visual playback window to cut down on all the extra time. i recommend amadeus pro for the mac.
you need a visual playback device so that you can immediately listen back to the recording from the actual first note of the performance, instead of waiting through the empty space of the recording.
during the self-recording process, you’ll be doing simple functions in this audio editing application to cut and paste, select certain audio regions, half-speed playback, double-speed playback, and other things. in amadeus pro, there are keyboard shortcuts to quickly do this.
not much to say on headphones, but -
i use a pair of sound isolating, high quality headphones. this is for accuracy of sound.
i keep my pair of headphones on with one ear on and one ear off. i can hear the drum with one ear and hear the recording with the other ear. this is for efficiency - i don’t want to waste any time doing menial tasks. even something as little as taking headphones on and off can make this process boring and slow.
most importantly, organize your thoughts into a note taking system.
this example shows the 12 delécluse études. in general, i'd recommend one notecard per excerpt or per line of an étude or solo.
the self-recording workflow is all about feedback. as you self-record, you’ll compile feedback about yourself. after each analysis, you’ll need to take these notes out of your mind and collect them into some visual note taking device. your mind, in this type of focused work, should be used for problem-solving, not remembering. if you don’t write it down, you’ll be forced to remember everything that was wrong from the last time you listened to the recording. instead of directing your entire focus into how to fix a problem, you’ll end up running through the list of things that were problems in the first place. this limits your attention span in the problem-solving work.
the other thing is this: before you even start work on an excerpt, you don’t yet have any self-diagnosed feedback from yourself. you might, however, already have feedback from a variety of sources. collect this into one place so that you can use it to identify and diagnose problems, and find potential solutions.
the types of feedback that you have available to you are:
lessons
mock auditions
informal sessions with peers
orchestra rehearsals, from conductors
previous audition panel comments
as you work on recording yourself, you’ll cross some of these out, and add new ones. when you cross a problem, blemish, or issue out, it could either because you reject it, like a note from a friend that was a fluke or that you don’t trust. it could also be something that you’ve solved. the goal is to get this list down to zero.
in some cases, you will have to take a piece of feedback from someone and translate it into language that you understand. for instance, if your last mock audition commenter said, “this excerpt lacks energy,” that might translate for you into “you slow down after your last 16th note in each bar”. either way, you should write it down and have it available so that you can address it during the workflow.
in conclusion.
first, you should collect all of your feedback.
go through recordings of your old lessons. if you’ve transcribed them, even better. if your teacher had a comment about delecluse 9 three years ago, it might still apply today. if it doesn’t, that’s great too, but the important thing is that you make that judgement and move on.
second, set up a system of paper or digital notes that you can use to record feedback during the recording process.
third, make a separate note for each excerpt. evernote is a good application to do this with.
fourth, write down all the notes from your various sources into the corresponding excerpt’s note.
now that you’re all set up, we're ready to start recording. see you tomorrow!
looking for an audition breakthrough?
here's my 5-step guide to constructing your preparation process and optimizing it for maximum results for any instrument.








in 2019, a cellist named maria reached out to me about her audition struggles. on paper, she was the “worst audition candidate ever” (her words). she had 2 small children, a full-time teaching job, and hadn’t taken an audition in 4 years.